Overview
This project has four parts:
Part 1: Mirror and Glass Materials
Implementing different bsdf according to whether the sphere is of mirror or glass material. The mirror sphere only has reflection while the glass material should have both reflection and refraction.
Part 2: Microfacet Material
Implementing different microfacet materials. Different materials have different eta and k value. From changing the value of eta and k, we can render different materials.
Part 3: Environment Light
Implement an infinite environment light. An environment light is a light that supplies incident radiance from all directions on the sphere.
Part 4: Depth of Field
Placing the lens in front of the camera. And from changing the aperature and focus length, we can generate different focused images.
Part 1: Mirror and Glass Materials
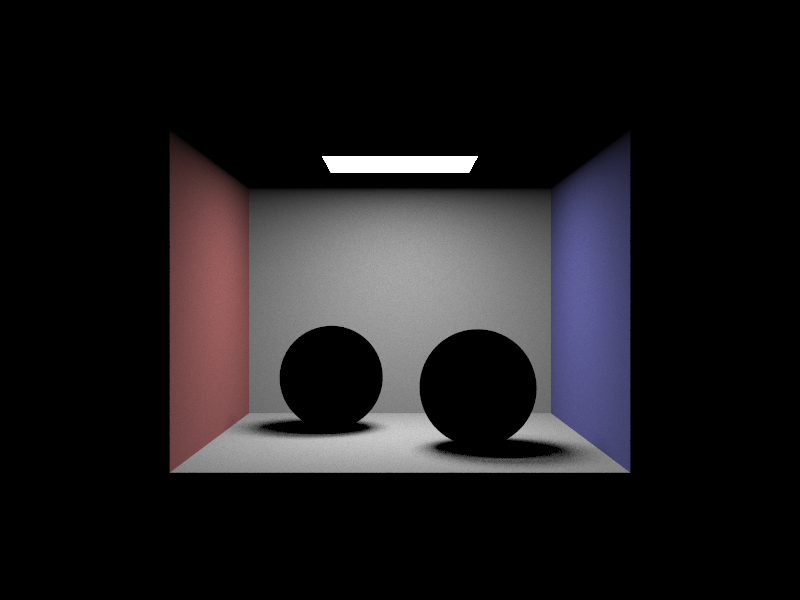
When rendering with maximum ray depth = 0, no light is reflecting back to the camera. Hence, both spheres appear to be black. |

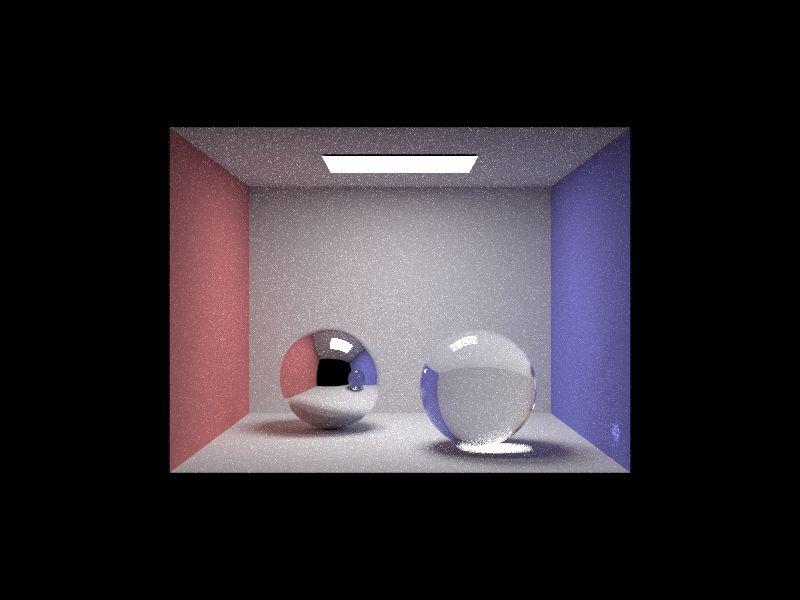
We can see reflection off of both spheres after increasing maximum ray depth to 1. The left sphere is made of glass while the right one is made of glass. |

Refracting can be seen from the glass sphere. However, the glass ball still has a dark shadow because it's still missing one more light bounce. Also, the reflection of the glass sphere on the mirror sphere is still dark. |

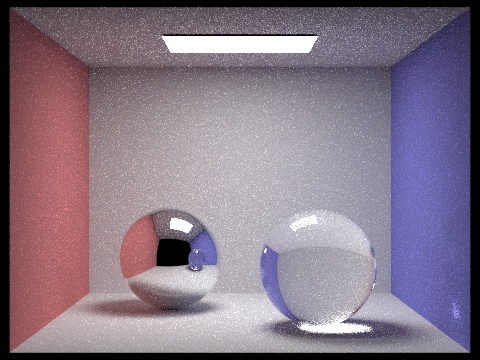
The glass sphere has a light highlight beneath the sphere. The reflection of the glass sphere in the mirror sphere is showing up. |

A bright spot can be seen on the right side of the wall. |
Not much difference can be seen between Maximum Ray Depth 4 and 5. |
|
Part 2: Microfacet Material
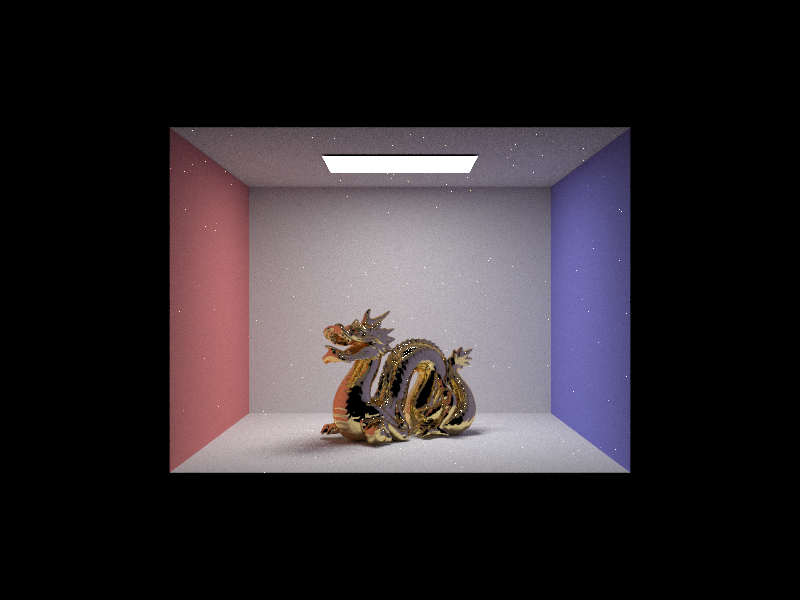
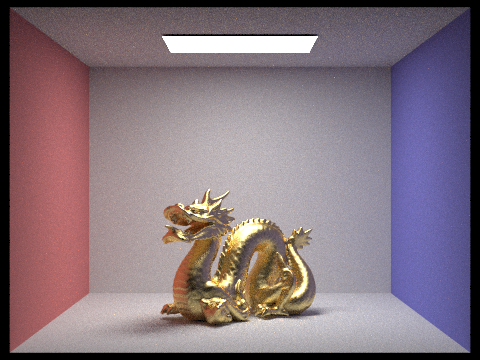
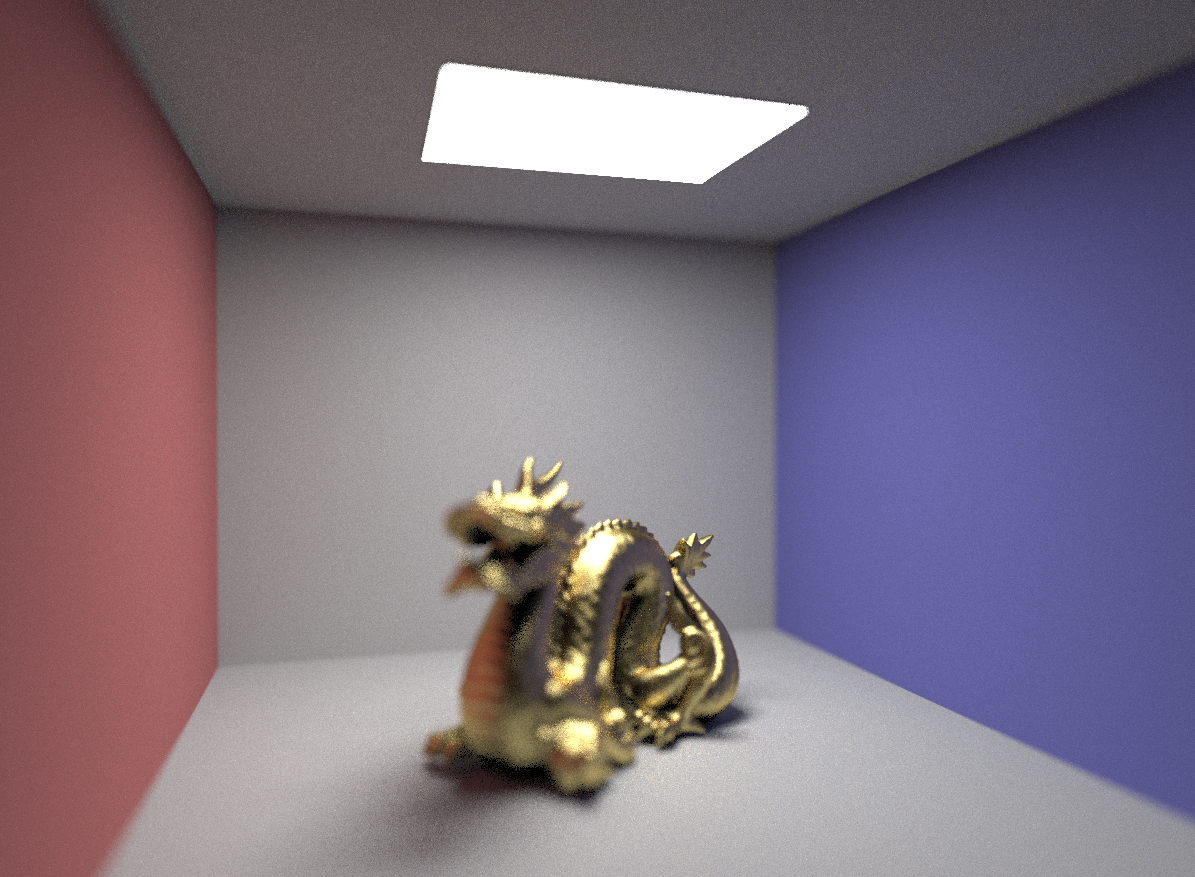
Dragon Microfacet Au
A sequence of 4 images of scene CBdragon_microfacet_au.dae rendered with alpha set to 0.005, 0.05, 0.25 and 0.5. Macro surface tends to be diffuse when alpha is large and glossy when alpha is small. As I increase the alpha value, the dragon gets more and more diffuse.
The dragon has a more shinny surface. |

|
|

The dragon has a more diffuse surface. |
Cosine Hemisphere Sampling and Importance Sampling
Two images of CBbunny_microfacet_cu.dae rendered using cosine hemisphere sampling and importance sampling. Cosine Hemisphere Sampling is more inefficient but should provide the same result as importance sampling.

|
|
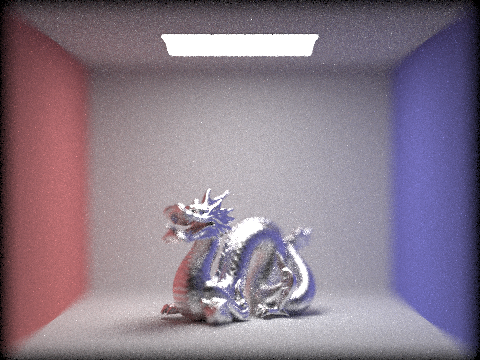
ANOTHER KIND OF MATERIAL - Magnesium
|
Part 3: Environment Light
Probabiliy Debug File

|
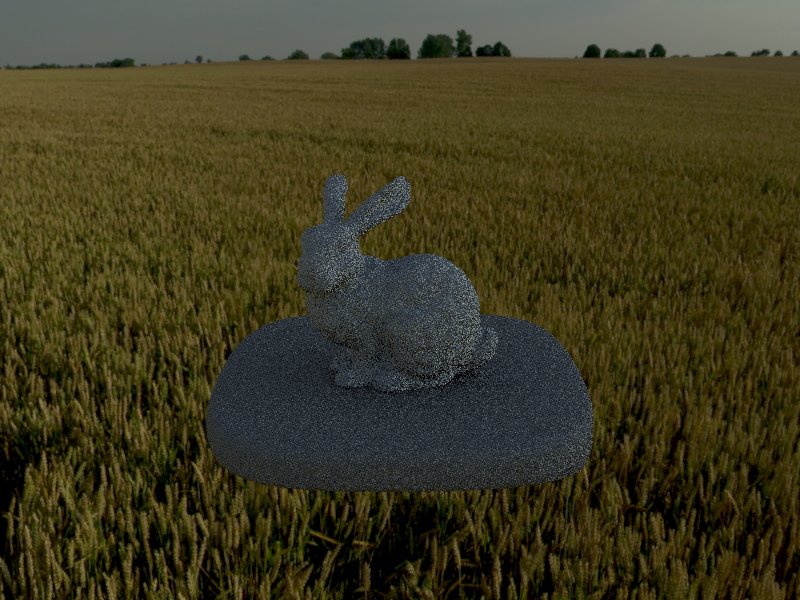
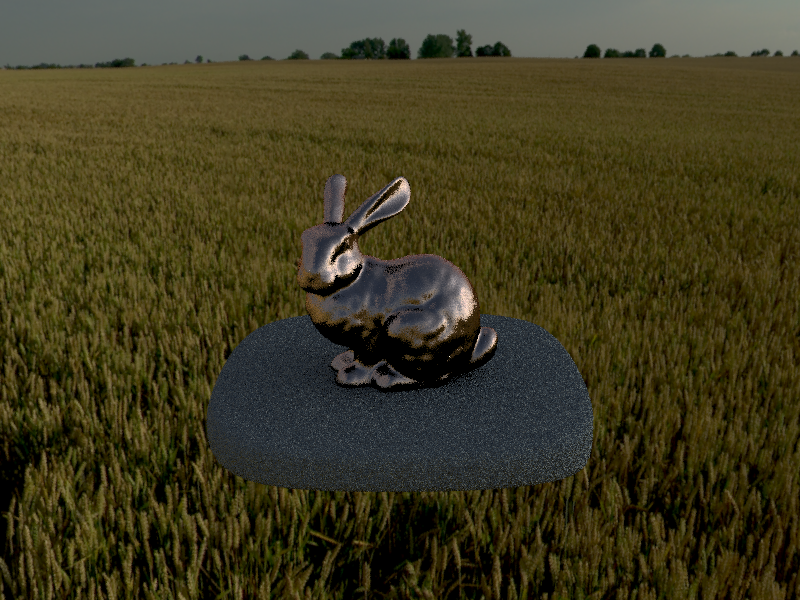
Uniform Sampling and Importance Sampling with Unlit Bunny
There is more noise in Uniform Sampling than in Importance Sampling. In the uniform sampling scene, the eye of the bunny is more blury.

|
|
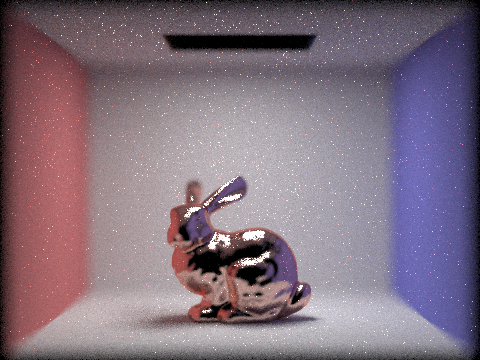
Uniform Sampling and Importance Sampling with Microfacet Cu Bunny
Same as the example above, there is more noise in Uniform Sampling than in Importance Sampling. It is more obvious to observe the shadow on the body.
|

|
Part 4: Depth of Field
Focus stack where the focus at 4 visibly different depths through the scene

The lens is focused at the head of the dragon. |

The lens is focused at the 2/4 distance from the head of the dragon |
The lens is focused at the tail of the dragon. |

The lens is focused at behind the dragon. |
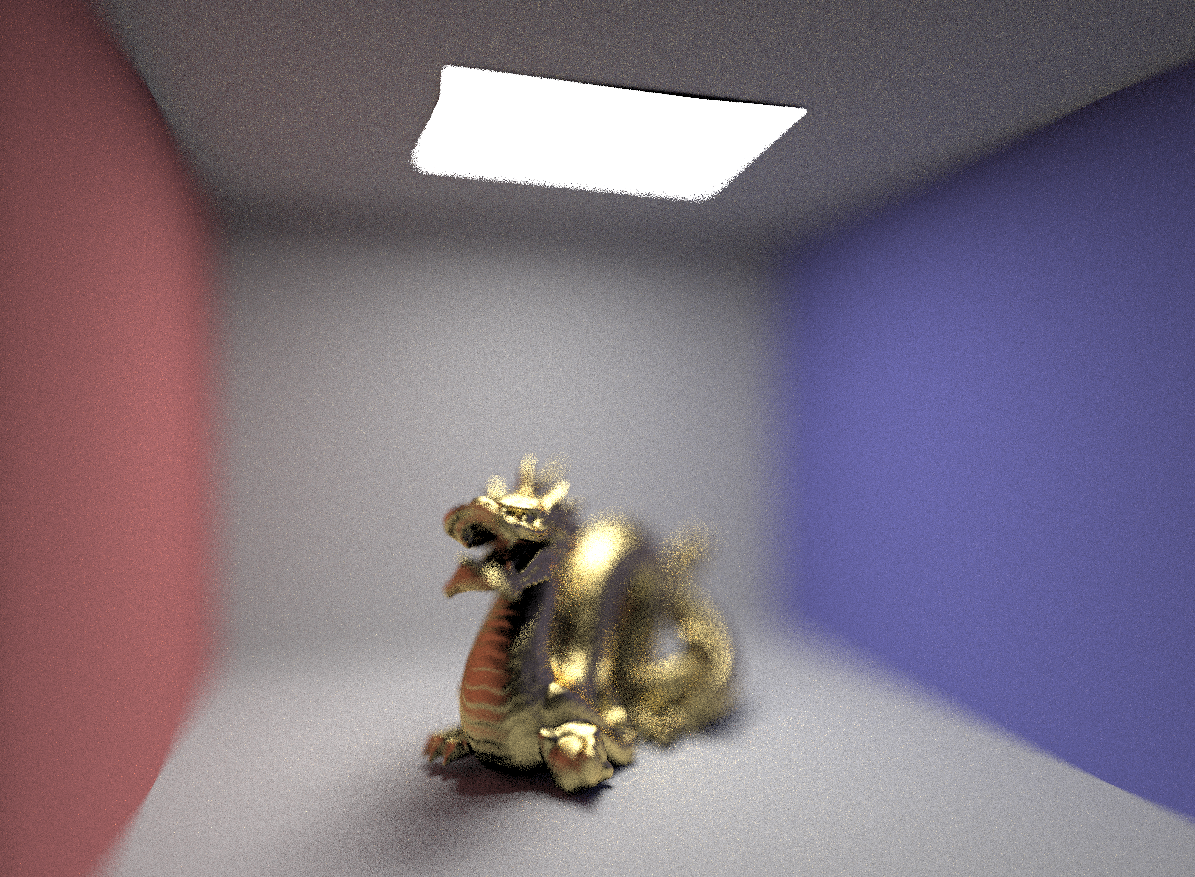
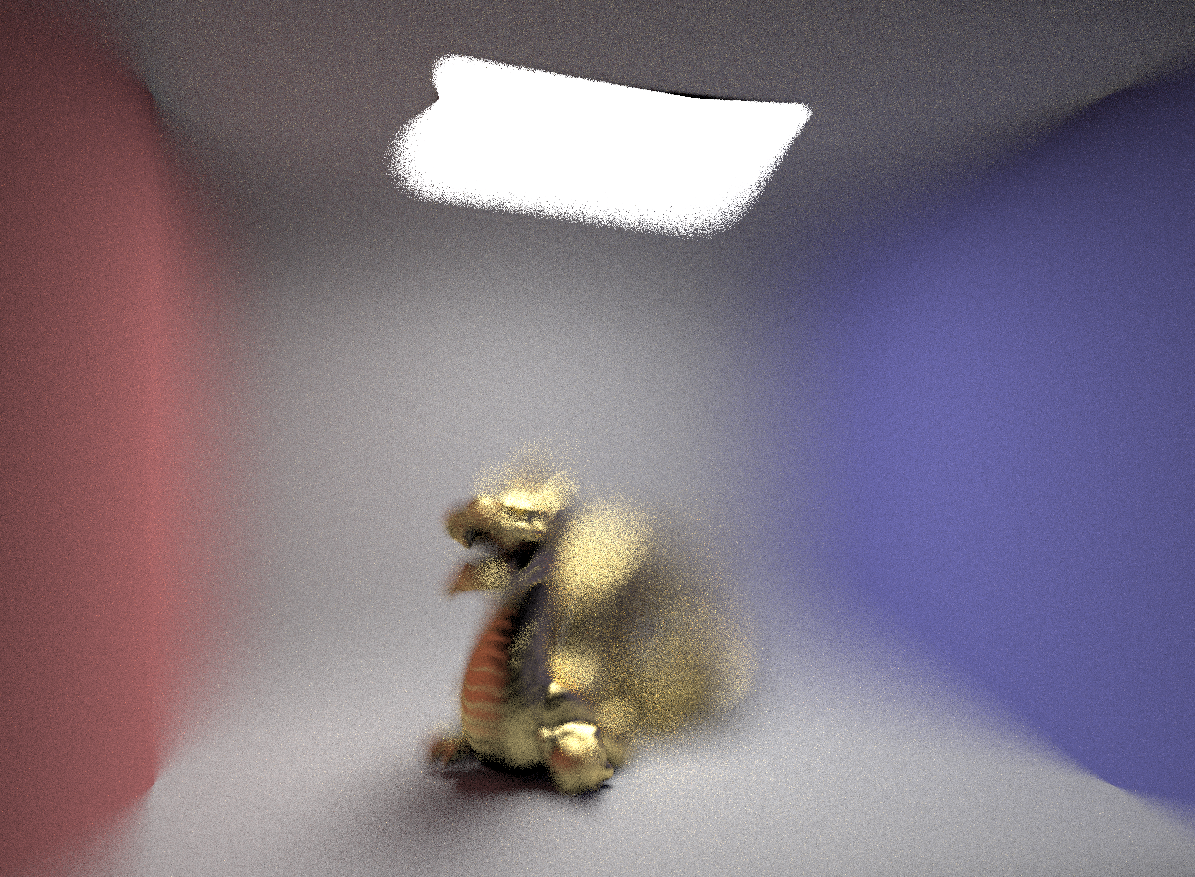
Changing the Aperature Size
The size of the aperature decides the size of the FOV. When the aperature is 0, it's like there is no lens, and all parts of the images are as if they are in focus. The greater the aperature, the shorter the FOV. The following images are placed in increasing aperature size. In the last image, when aperature is at 0.5, the overall image is more blurry.

|

|
|
|